How to Create a Cardboard Mustache Gallery Wall: A Step-by-Step Guide
Creating a gallery wall is a great way to add personality and style to any room. A cardboard mustache gallery wall is a unique and fun way to showcase your favorite photos, artwork, and prints. This article will provide tips and tricks for creating a cohesive and eye-catching display that will be sure to impress your guests.
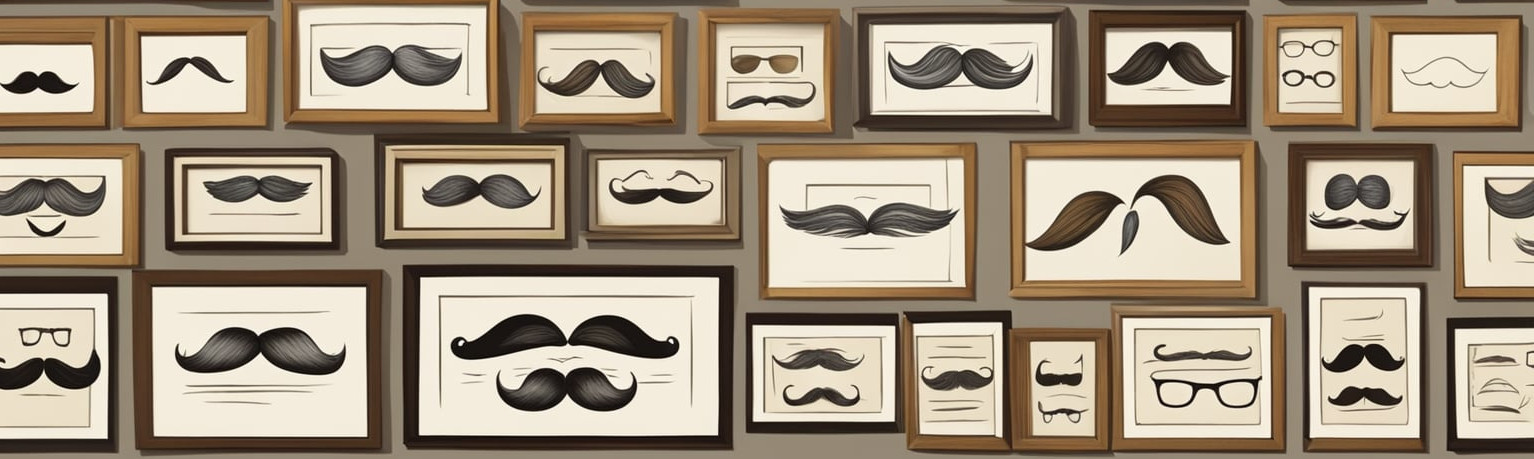
The first step to creating a cardboard mustache gallery wall is to choose the right frames. Black frames are a classic choice that will give your wall a timeless look, while white frames can add a modern touch. Mixing and matching different frame styles and sizes can create an eclectic and personalized feel. It is important to measure your wall space and arrange your frames on a craft paper template before nailing them into the wall. This will ensure a balanced and cohesive layout.
Choosing the Right Materials
When creating a cardboard mustache gallery wall, selecting the right materials is essential to ensure the final product looks great and lasts a long time. Here are some tips for choosing the right materials.
Cardboard Mustache Selection
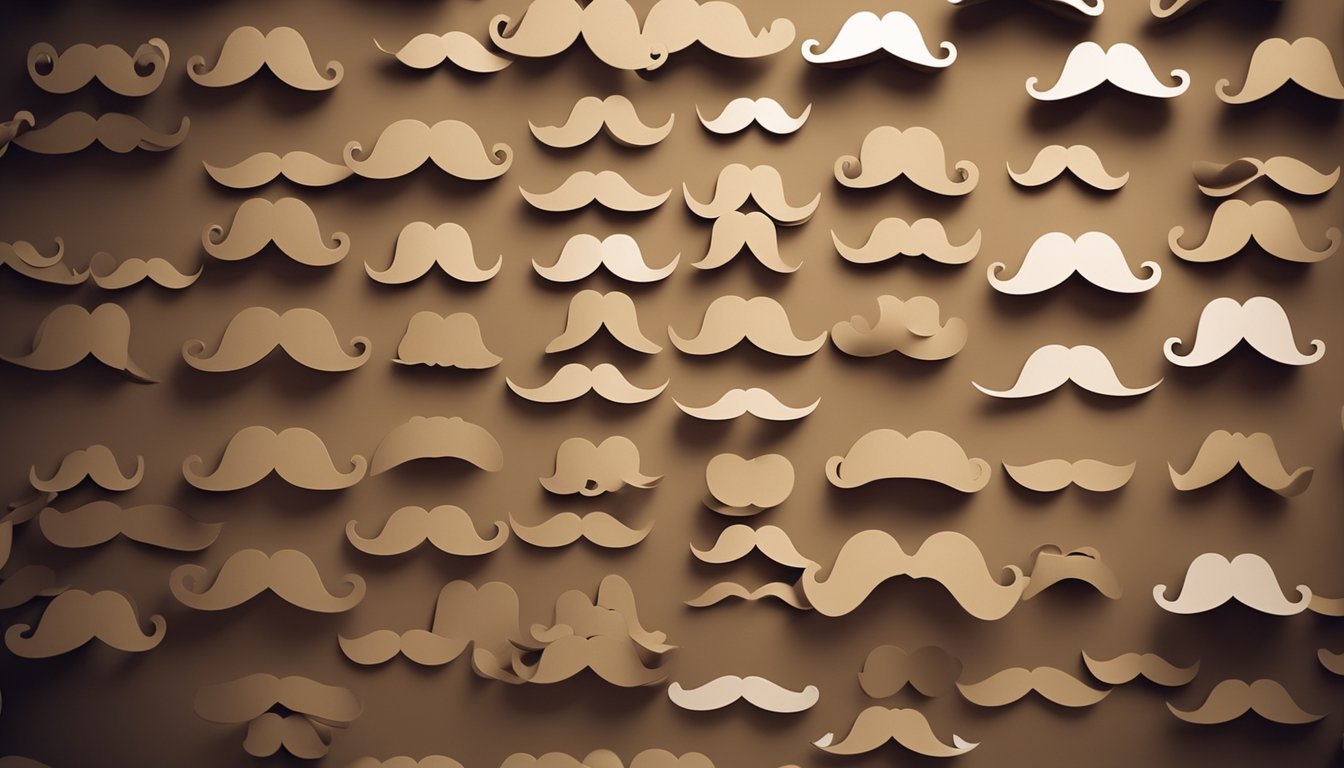
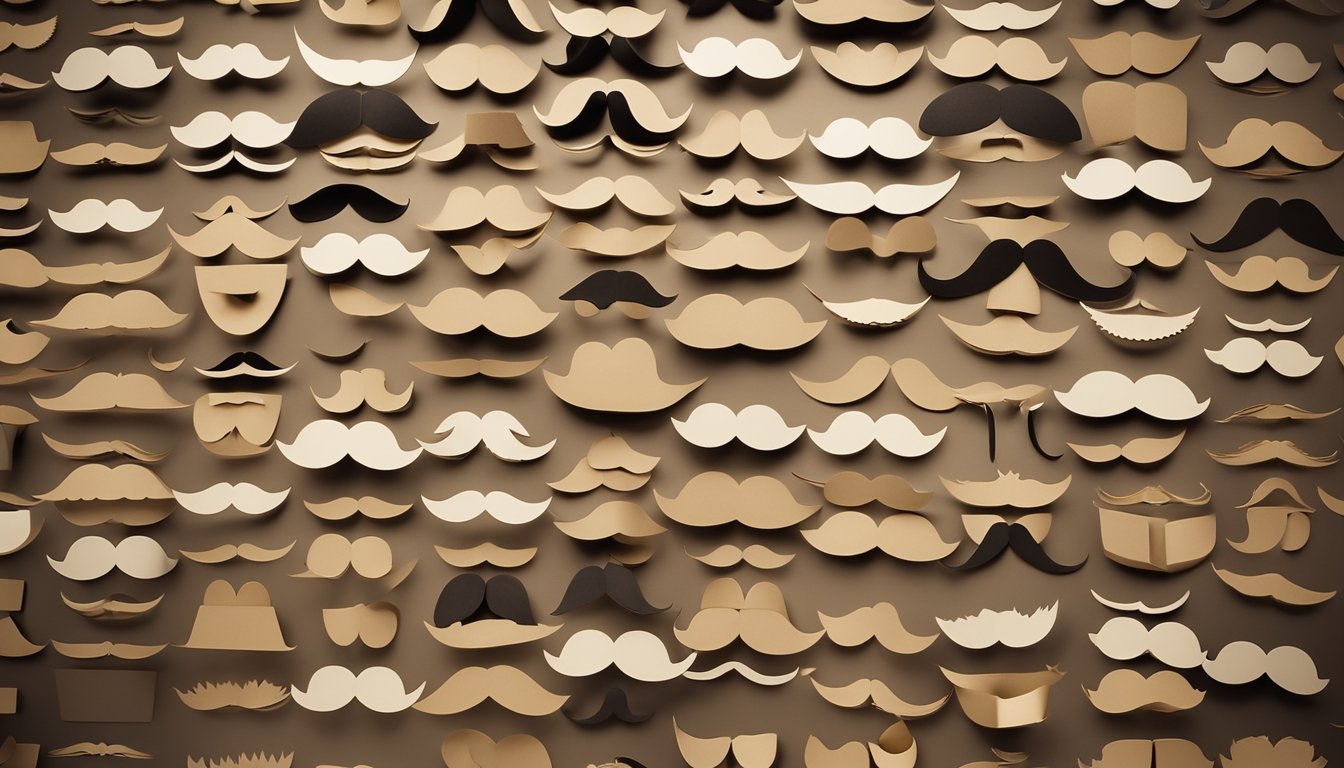
When selecting cardboard mustaches, make sure to choose ones that are sturdy and not too flimsy. You want them to hold up over time and not bend or warp. It's also important to choose mustaches that are the right size for your gallery wall. You can find cardboard mustaches in a variety of sizes, so choose ones that fit the overall look you're going for.
Choosing Frames
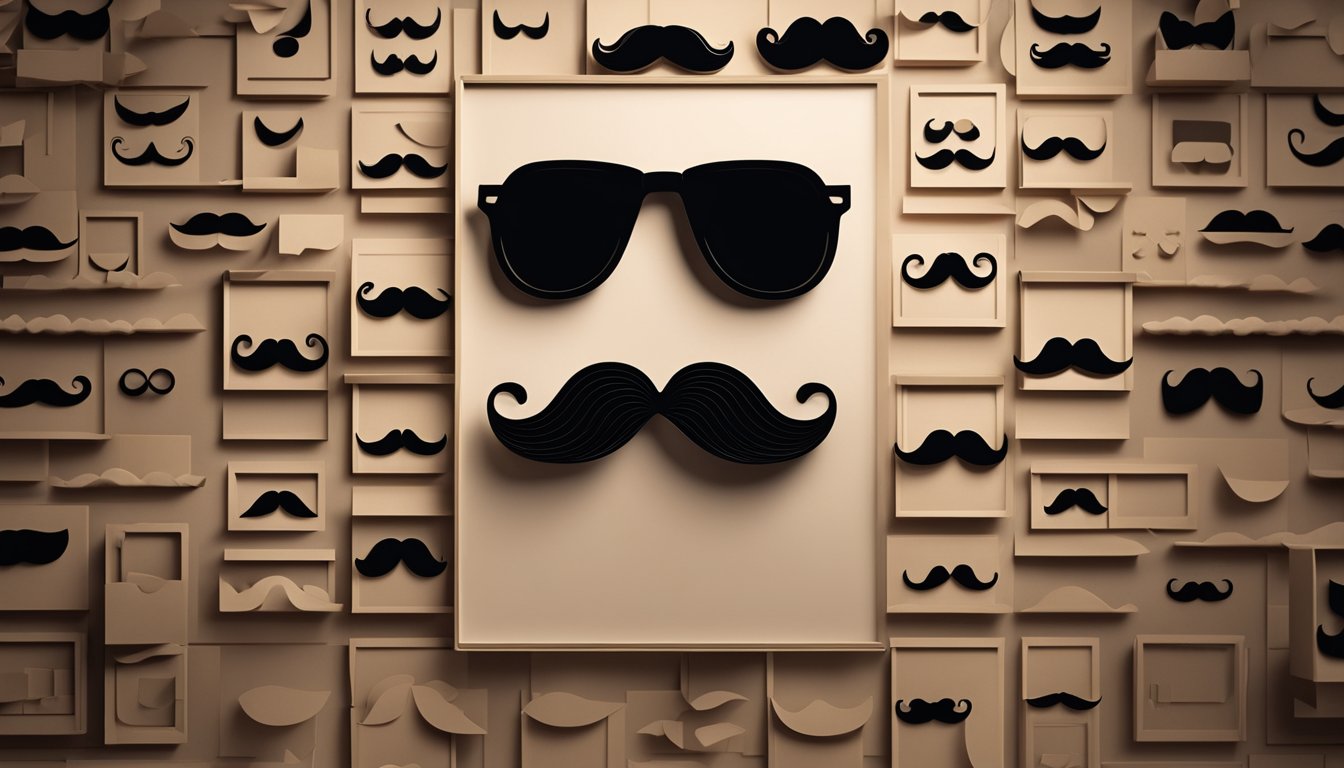
When choosing frames for your cardboard mustache gallery wall, consider the overall aesthetic you want to achieve. Black frames are a classic choice for a sophisticated look, but you can also choose frames that match the color palette of the mustaches. If you're on a budget, craft paper can be a great alternative to traditional frames.
Selecting the Right Tools
To create a cardboard mustache gallery wall, you'll need a few tools. A pencil and ruler will be useful for measuring and marking where to hang the mustaches. You'll also need hardware to hang the frames, such as picture hangers or nails. If you're not confident in your ability to hang the frames straight, consider using a service like Framebridge or hiring a professional.
By following these tips for choosing the right materials, you'll be well on your way to creating a stunning cardboard mustache gallery wall that will impress your guests.
Designing Your Gallery Wall
When it comes to designing your cardboard mustache gallery wall, there are a few key factors to consider. By taking the time to plan out your layout, color scheme, and theme, you can create a cohesive and visually appealing display that truly reflects your personal style.
Deciding on a Layout
One of the first things to consider when designing your gallery wall is the layout. There are a variety of different options to choose from, including a grid arrangement, a salon-style mix, or a statement wall featuring one large anchor piece. Before you start hanging your artwork, take some time to measure your wall space and experiment with different layout templates to find the one that works best for your space and personal style.
Choosing a Color Scheme
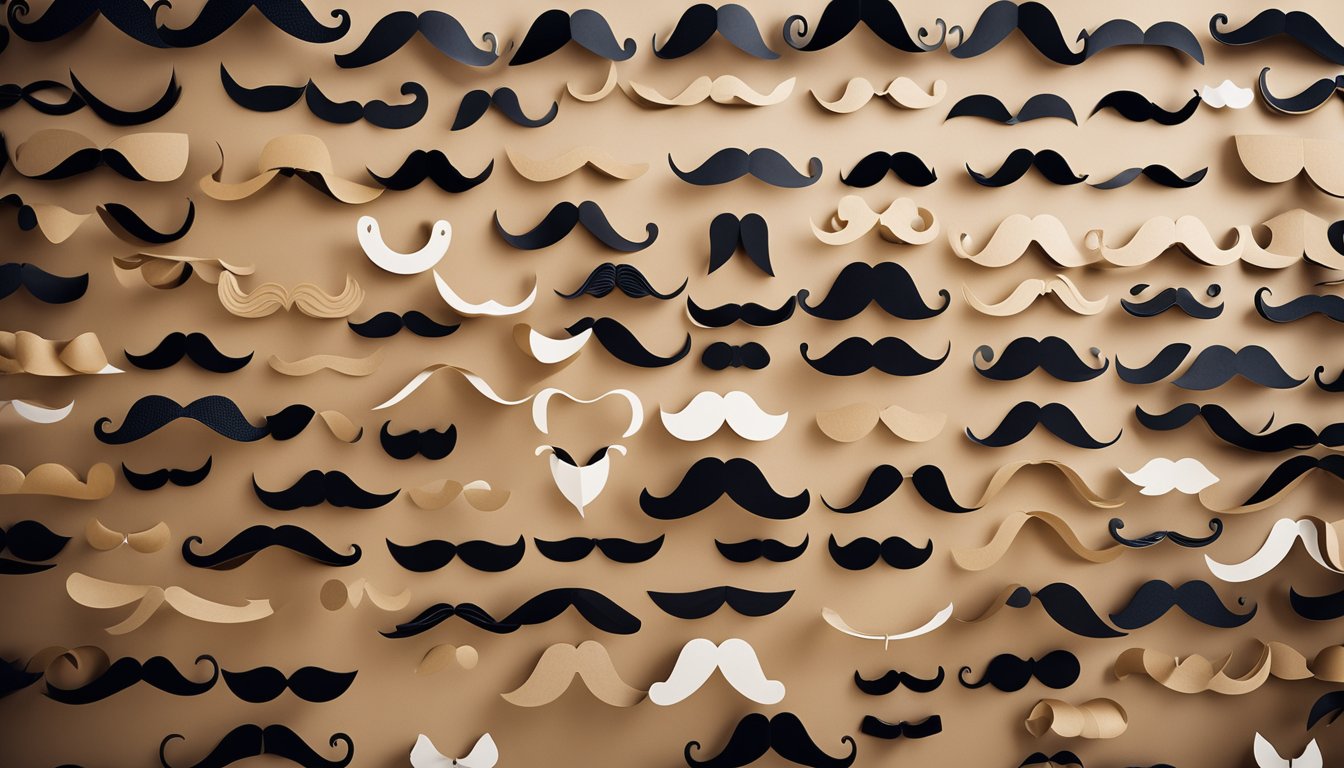
The color palette you choose for your gallery wall can have a big impact on the overall look and feel of the space. Consider using a mix of colors and prints, or sticking to a more cohesive color scheme to create a balanced and visually appealing display. Some popular color choices for gallery walls include black and white, gold, and a variety of bold and bright hues.
Incorporating a Theme
In addition to choosing a color scheme, you may also want to consider incorporating a theme into your gallery wall design. This could include using a mix of different frame styles, incorporating different types of artwork such as textile or sculptural pieces, or even using Polaroid photos or ticket stubs to create a more personal and unique display. By incorporating a theme, you can create a gallery wall that truly reflects your personal vision and style.
Overall, designing a cardboard mustache gallery wall can be a fun and creative way to add some personality and style to your home decor. By taking the time to plan out your layout, color scheme, and theme, you can create a visually appealing and cohesive display that truly reflects your personal vision and style.
Creating and Hanging Your Gallery Wall
When it comes to creating a cardboard mustache gallery wall, hanging the gallery wall is the most important part. Here are some tips on how to do it like a pro.
Preparing Your Space
Before you start hanging, make sure you have enough wall space for your gallery wall. Take measurements of the wall space and decide on the arrangement of your cardboard mustache gallery wall.
Once you have decided on the arrangement, use a mock-up to visualize the gallery wall on the wall space. This will help you make any necessary changes before hanging the actual gallery wall.
Hanging Techniques
To hang a gallery wall, you will need the right tools and hardware. Here are some of the materials you will need:
- Nails
- Hammer
- Level
- Measuring tape
- Pencil
- Sconces (optional)
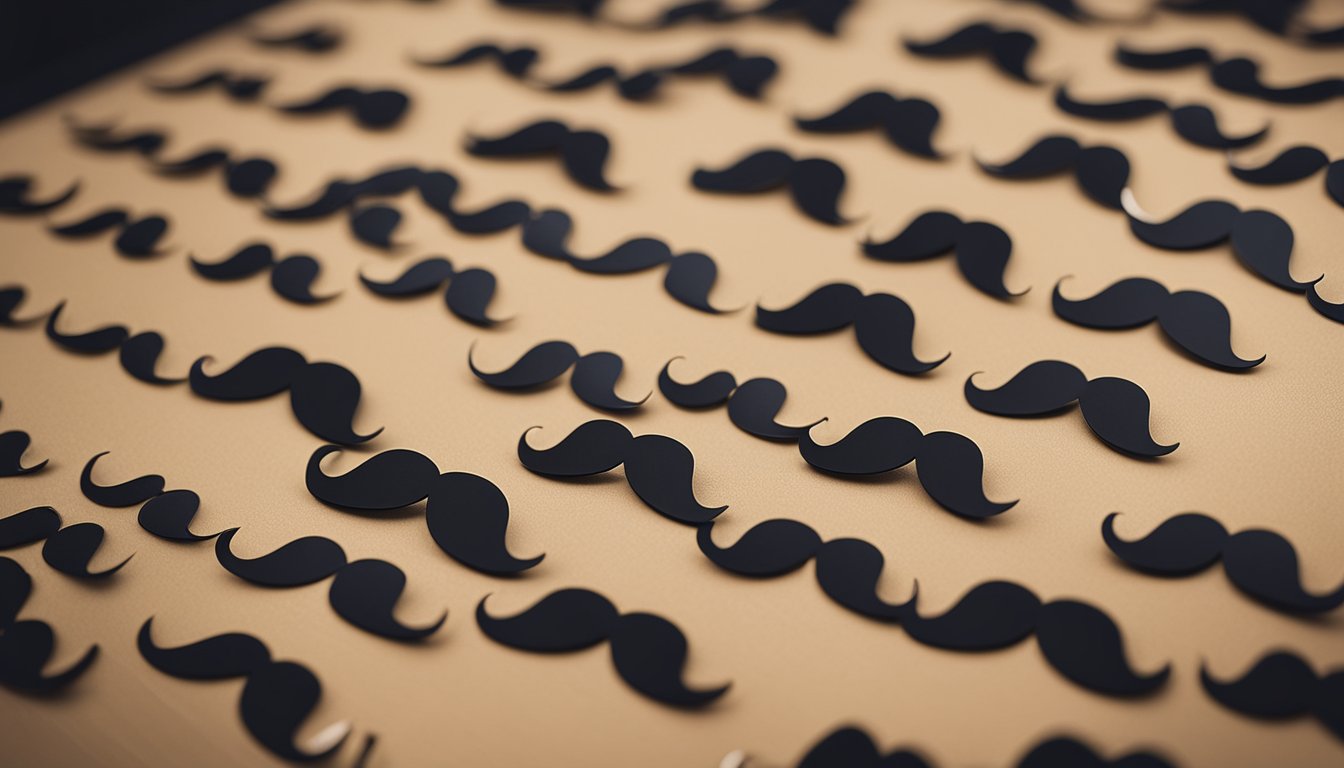
To create a professional look, it is important to hang the gallery wall in a grid. Start by hanging the first mustache in the center of the wall space and work outwards. Use the level to ensure each mustache is straight and evenly spaced.
If you are hanging family photos or other photos, arrange them in a vertical grid for a cohesive look.
Final Touches
Once you have hung all of the cardboard mustaches, step back and take a look at the gallery wall as a whole. Make any necessary adjustments to the spacing or arrangement for a polished look.
If you want to add extra decor to the gallery wall, consider adding sconces or other wall decor to fill any empty spaces.
Remember, hanging a gallery wall takes trial and error. Don't be afraid to make adjustments and have a game plan before you start. With the right tools and techniques, you can create a stunning cardboard mustache gallery wall that will impress all who see it.
Maintaining Your Gallery Wall
Creating a gallery wall is a fun and creative way to showcase your favorite art pieces, photos, and other decorative items. However, once you've hung everything up, it's important to maintain your gallery wall to ensure it stays looking great. Here are some tips for maintaining a successful gallery wall:
- Regularly dust your frames and artwork to keep them looking fresh and clean. A microfiber cloth or soft-bristled brush can be used to gently remove any dust or debris.
- Check the stability of your hanging hardware periodically to make sure everything is secure. If you notice any loose nails or screws, replace them immediately to prevent any damage to your artwork or wall.
- If you need to rearrange or add new pieces to your gallery wall, be sure to plan out the layout before you start hammering in new nails. Consider the size and shape of your new artwork and how it will fit in with the existing pieces.
- When hanging new pieces, use a level to ensure they are straight and evenly spaced. This will help maintain the overall aesthetic of your gallery wall.
- Consider adding sconces or other lighting fixtures to highlight your artwork and create a warm and inviting atmosphere.
- If you have a large wall space to fill, consider mixing in different types of artwork, such as textiles, sculptures, or even ticket stubs and postcards. This will add visual interest and create an eclectic mix of pieces.
- Finally, don't be afraid to switch things up from time to time. Adding new pieces or rearranging your gallery wall can keep it feeling fresh and exciting.
By following these tips, you can maintain a beautiful and successful gallery wall that showcases your favorite artwork and decorative items.